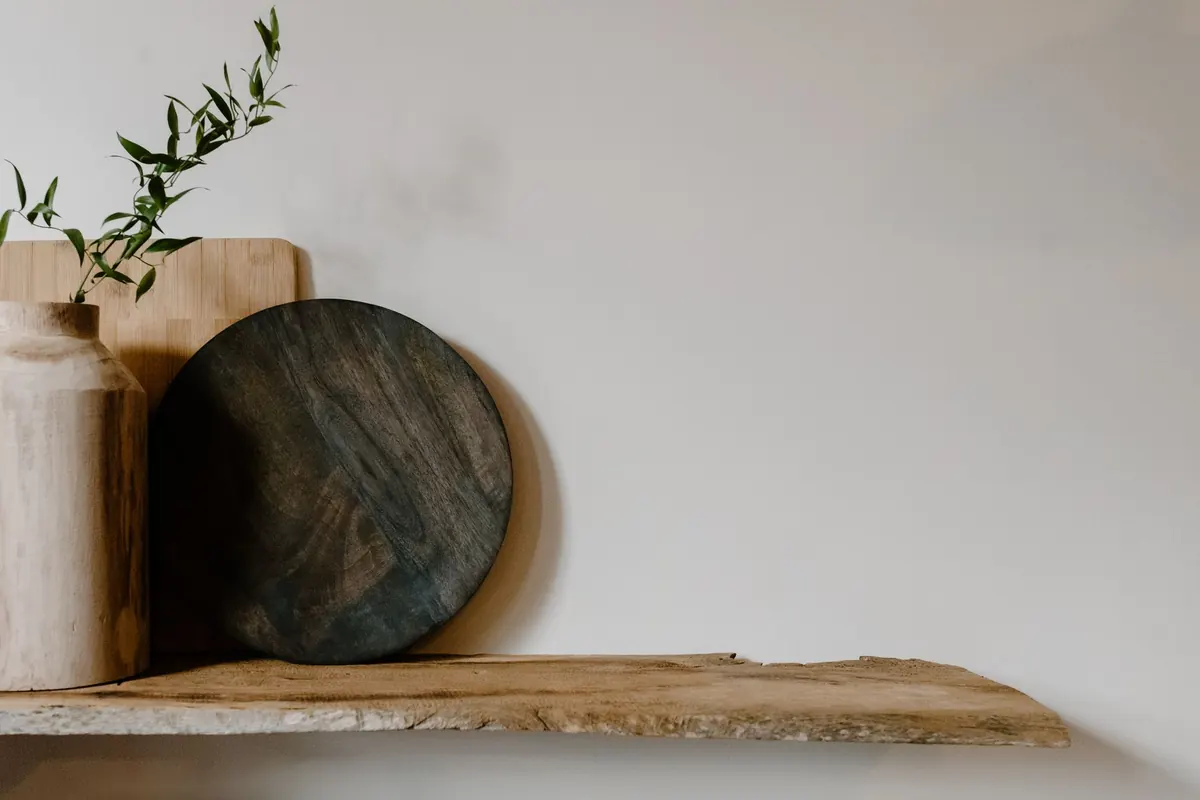
Reclaimed timber has a habit of turning a simple shelf into a conversation piece. Nail holes, saw marks and decades of colour do more for a kitchen wall than anything flat-packed. The catch is that a floating shelf hides everything holding it up, so the strength has to come from the timber itself and from the wall behind it. Get those two things right and the job is mostly measuring, drilling straight and taking your time.
Start With Timber That Will Behave
Not every offcut is worth drilling. For a shelf carrying books, look for a board at least 40mm thick and reasonably straight along its length. Old floorboards, stair treads, roof joists and school laboratory benches all fit the bill. Pallet wood is tempting because it is free, but it tends to be thin, damp and prone to splitting, which is fine for a painted crate and less good for something expected to hold weight.
If your favourite board is only 20mm thick, glue two lengths face to face with exterior wood glue and a generous number of clamps. The result is a chunkier shelf with a glued line through the edge that reads as deliberate. Leave it clamped overnight before you touch it with a saw.
Before anything else, run a magnet over the board. Old timber loves to hide broken screws, staples and grit, and one buried screw will ruin a planer blade or a saw blade in a heartbeat. A cheap metal detector is worth the money if you plan to use reclaimed wood often.
Look closely for woodworm, too: fine holes with a dusting of frass around them mean the timber needs treating before it comes indoors. Old paint and preservatives can also produce unpleasant dust, so sand outside or in a well-ventilated space, and wear a mask.
What You Will Need
- Tape measure, pencil and a 600mm spirit level
- Combination square for marking square ends
- Cordless drill, a 12mm wood bit and a masonry bit to suit your wall
- 12mm threaded steel rod, or a ready-made concealed shelf bracket
- Hacksaw and a fine file for tidying cut rod
- Sanding pads in 120 and 180 grit
- Wood oil, wax or matt varnish for finishing
- Clamps, a dust mask and safety glasses
- Fixings suited to your wall: long screws for studs, plugs or resin anchors for masonry
Measuring and Marking Up
Decide on the run first, then check what is in the way: sockets, radiators, tiles, pipework, the swing of a cupboard door. There is nothing worse than a perfectly made shelf sitting an inch too low to clear a plug.
Set a level line where the underside of the shelf will sit, mark it in pencil, and check it twice with the same level. If your wall is old and out of true, take your line from the level rather than from the ceiling, and accept that a gap at one end is a feature of the house.
Find your studs with a stud finder or by tapping, and write their positions on strips of masking tape stuck to the wall. That way the marks survive drilling dust and you are not guessing later. Where there is no stud, plan for proper masonry or plasterboard fixings rather than hoping for the best.
Cutting and Preparing the Board
Cut the board a few millimetres long and trim to your finished length, using a square to mark all the way round. Masking tape over the cut line reduces tearout on old, brittle timber, and a fine-tooth blade leaves a cleaner edge than a coarse one.
Plane or sand the ends square, then work over the faces with 120 grit followed by 180. You are not trying to make old wood look new; you are knocking back splinters and dirt so the finish goes on evenly. Stop before the character disappears.
Now is the moment to dry-fit the shelf against the wall and live with it for a minute. Adjust the height if it feels wrong while the timber is still in one piece.
Building the Hidden Core
This is the part that makes a shelf float. There are two approaches that work well with reclaimed timber, and both rely on the same principle: the support is buried inside the timber, so the shelf must be thick enough to hide it.
The steel rod method
Cut two lengths of 12mm threaded rod, roughly 200mm each. Aim for 80 to 100mm inside the shelf and the rest projecting into the wall or into a back plate. Drill matching 12mm holes into the end grain of the shelf, using a drill guide block or a pillar drill to keep them parallel, and tape the bit to mark your depth.
Drill both holes in one session with the board clamped and fully supported, so the bit cannot wander between passes. Two holes that are even slightly out of parallel will fight each other when you slide the shelf on.
Set the rods in the shelf with polyurethane glue and leave them to cure. On the wall side, fix a back plate made from a strip of 18mm ply or timber, drilled to take the rods, into your studs with 60 to 70mm screws. For masonry, drill and set the rods into plugs or resin, or fix the plate with masonry fixings and let it carry the rods.
The timber batten method
Simpler for very thick boards. Screw a 40 x 40mm batten to the wall, reaching across at least two studs, then rout or chisel a matching channel in the back of the shelf so it slides over the batten and hides it completely. The shelf needs to be deeper than the batten by a comfortable margin, and the fit should be snug rather than forced.
Fitting the Shelf
- Mark and drill the wall holes to the correct depth, keeping the drill level, then vacuum out the dust.
- Fit the back plate, batten or rods. Lay a level across the protruding supports; if one sits high or low, the shelf will tilt at the front edge.
- Slide the shelf on dry. It should go on with firm hand pressure, never a hammer.
- Pull it off, run a thin bead of grab adhesive around the holes or channel, and slide it home.
- Wipe away any squeeze-out with a damp cloth before it sets.
- Check the level one last time, then leave it alone for 24 hours before loading anything onto it.
Finishing and Aftercare
Two coats of oil or a hard wax bring out the grain without making reclaimed wood look plastic. Test on an offcut first, because old timber can take finish unevenly and a patchy shelf is hard to fix once the oil is in.
Reclaimed boards keep moving with the seasons, so leave a few millimetres of clearance at each end if the shelf sits between two walls or inside an alcove. That small gap saves you from a cracked plaster edge or a shelf that jams solid in a damp winter.
If something looks wrong
- Front edge sags: the shelf is too thin or the rods are too short. Add a second pair of rods or move up to thicker timber.
- Shelf rotates on the wall: the holes were drilled off-parallel, or a single central support was used where two were needed.
- Cracks along the grain: a screw or fixing was driven in without a pilot hole, or overtightened.
- Shelf will not slide on: the batten is proud of the channel, or adhesive has already begun to grab. Clean it out and try again.
A Shelf That Earns Its Place
Treat a floating shelf as furniture, not scaffolding. Books, jars, plants and a lamp are all fair game; a row of cast iron pans or a stack of tiles is not, unless you have designed the fixings for that load from the start. Check the fixings once a year by pressing down gently on the front edge and looking for movement.
If your wall is unusual, or you want to hang something genuinely heavy, ask a builder or a carpenter to look at the structure before you drill. Everything else here is well within reach of a Saturday morning, a decent drill and the willingness to measure one more time than feels necessary. That is the whole secret of a shelf that looks like it grew out of the wall.
Photo: Tara Winstead / Pexels