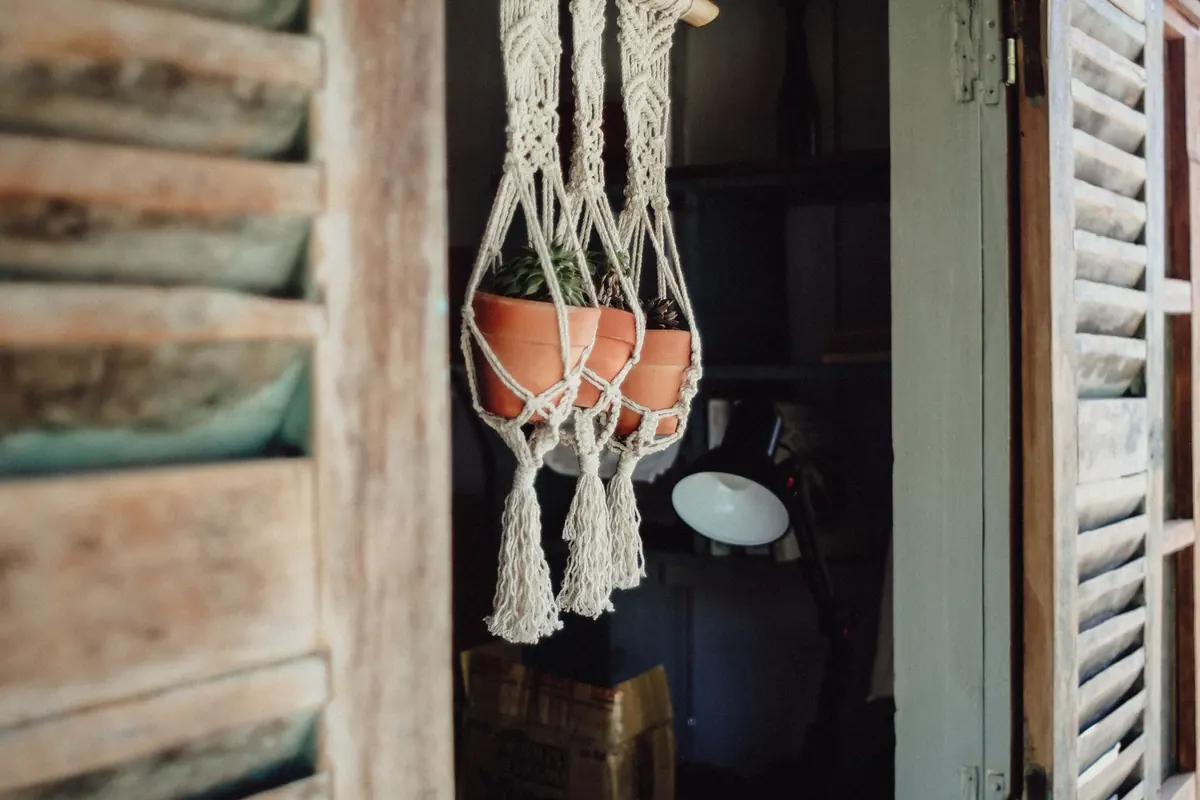
Floor space is the first thing to go in a small flat. Books stack up, the bike lives in the hallway, and every windowsill turns into a shelf. Hanging a plant solves that problem neatly, and a macramé hanger costs little more than a ball of cotton cord and an evening's work. No experience required — three basic knots will carry you through the whole project.
Why Macramé Works in Tight Spaces
Hanging planters use the space you already have but aren't using: the corner above the sofa, the strip of wall beside a window, the gap between the wardrobe and the door frame. Nothing sits on the floor, so nothing gets kicked over or squeezed out.
Macramé is also unusually forgiving. Cotton cord grips itself, so knots stay where you put them, and small mistakes disappear once the pot is in place. If you rent, you can lift the whole thing down in seconds and take it with you.
What You'll Need
- About 25 metres of 4mm cotton macramé cord. Single-twist or 3-ply both work; avoid slippery nylon for a first attempt.
- A plant pot roughly 12–15cm across. Terracotta and plastic are both fine, but check the rim isn't wider than the net you're about to make.
- Sharp scissors and a tape measure.
- An S-hook, a strong door handle or the back of a chair to hang the work from while you tie.
- Optional extras: wooden beads, a brass ring, and a trailing plant such as pothos, tradescantia or string of hearts.
Buy a little more cord than you think you need. It's cheap, and running short two-thirds of the way through a hanger is genuinely irritating.
The Three Knots That Do All the Work
Lark's Head Knot
Fold a cord in half, push the loop under your ring or mounting point, then pull the two loose ends through the loop and tighten. This is how you attach cords to a hoop or a wooden bar. If you're making a ceiling hanger, you can skip it and start with a wrapping knot instead.
Square Knot
Take four strands. Cross the outer left strand over the two middle ones, then pass the outer right strand over the left one, under the middles and up through the loop. Pull tight. Repeat starting from the right side. Two of these half knots make one full square knot. Worked in a column they form a flat panel; worked in one direction only, they spiral — which is a pattern in its own right, not a mistake.
Wrapping Knot
Gather your strands into a bundle. Hold a short length of spare cord against the bundle pointing upwards, then wrap it tightly around and around downwards for about 4cm, working towards the loose end. Thread the tail through the loop you left at the top, pull the top end so the loop disappears under the wrapping, and trim. This is what forms the loop at the top of your hanger and the basket base at the bottom.
Step by Step: A Simple Four-Strand Hanger
- Cut eight lengths of cord at 3 metres each. Measure the first, then use it as your guide for the rest — small differences won't show, but large ones will.
- Hold all eight cords together and find the midpoint. About 4cm below that point, tie a wrapping knot to secure the bundle. The loop above it is what hangs on your hook.
- Lay the bundle flat and divide the sixteen strands into four groups of four.
- Work about 8cm down, then tie a square knot in each group. You now have four knots in a row.
- For the second row, take the two rightmost strands from one group and the two leftmost strands from the next, and tie a square knot. Repeat across, so the knots sit between the ones above. This creates the diamond net that holds the pot.
- Add a third row the same as the first. Two or three rows is plenty for a small hanger; more rows make a deeper basket for a taller pot.
- Measure your pot's height, then gather all the strands and tie a wrapping knot roughly that height plus 3cm below the last row of square knots.
- Slip the pot in to check the fit before you trim anything. When you're happy, cut the ends to 15–20cm and either leave them straight or comb them out with a wide-toothed comb to create a fringe.
Adapting the Design for Awkward Corners
Low ceilings are common in older flats, so shorten the section above the first row of square knots to around 25cm. The hanger will still look deliberate, and you won't be ducking under a trailing vine every time you cross the room.
If you can't fix anything to the ceiling, a wall bracket or a hook above a door frame works just as well and keeps the plant clear of walkways. For a narrow windowsill, try a two-tier version: tie the first pot's net, then continue the strands down and add a second basket below with its own wrapping knot. Two plants, one hook, no floor taken.
When Something Goes Wrong
- Uneven base: your cords were cut at different lengths. Loosen the bottom wrapping knot, pull the shorter strands through a little, and retighten before trimming.
- The pot sits too low: the net is too deep. Add another row of square knots partway down to lift it.
- Fraying ends while you work: wrap each end with a scrap of masking tape, or tie a small overhand knot and cut it off at the end.
- Everything feels loose: cotton cord relaxes once it's hanging under weight. Tighten your knots again after the pot is in place.
Hanging It Safely
A pot full of damp soil is heavier than it looks, especially straight after watering. Fix a ceiling hook into a timber joist where you can, or use a bracket or hook rated by its manufacturer for the load. If you rent and can't drill, hang over a door frame or use a freestanding plant stand instead — it's not worth risking a cracked ceiling for a spider plant.
Water the plant in the sink, let it drain properly, then hang it back. Drips onto a sofa or a wooden floor are both annoying and slippery. Keep the hanger clear of radiators and draughty sash windows, and away from the swing of any door that opens against the wall. Once it's up, a quick check of the knots every few months will keep it there for years.
Photo: Dương Nhân / Pexels