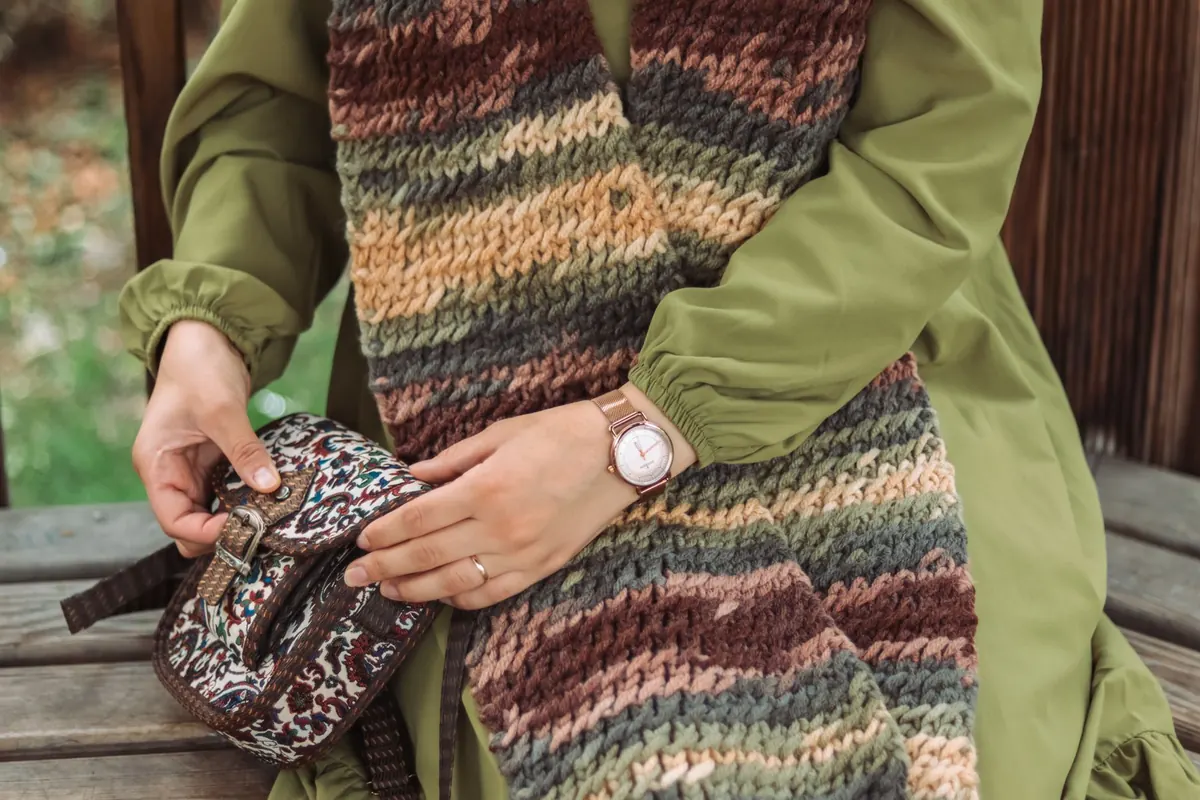
A chunky ribbed scarf is the project most knitters wish they had started with. Thick yarn and fat needles mean you can see every stitch, the work grows fast enough to keep you interested, and ribbing is forgiving: the texture hides slightly uneven tension that would show up badly in smooth stocking stitch. You will learn four things along the way — casting on, knitting, purling and casting off — and by the end you have something genuinely useful to wear.
Choose Your Yarn and Needles First
Before you cast on a single stitch, get the materials right. Chunky yarn (sometimes labelled bulky) works on 8mm to 10mm needles; super chunky suits 12mm. The ball band tells you the suggested needle size, and it is worth following it rather than guessing.
- Yarn: 200–300g of chunky yarn for an adult-length scarf. Choose a smooth, light-coloured wool or wool blend. Pale yarn shows the stitch definition; fluffy or dark yarn swallows it. Buy all the balls at once and check the dye lot numbers match.
- Needles: a pair of straight needles in the size on the ball band, usually 8mm or 10mm.
- Tapestry needle: a blunt, large-eyed needle for weaving in the ends.
- Tape measure and scissors.
- Optional: a crochet hook for picking up dropped stitches, and a safety pin to hold them until you get to them.
Casting On: Getting the First Stitches on the Needle
The long-tail cast on gives a neat, slightly stretchy edge that suits ribbing. Beginners sometimes find it fiddly, so here it is in plain steps.
- Pull out a tail roughly one centimetre for every stitch you plan to cast on, plus an extra 15cm for safety.
- Make a slip knot on the needle with the loop where the tail meets the ball.
- Hold the tail over your thumb and the working yarn over your index finger, spreading them into a V.
- Slide the needle under the strand on your thumb, then over and under the strand on your index finger, and back through the thumb loop.
- Drop the thumb loop and gently tighten. That is one stitch. Repeat until you have the right count.
For a chunky scarf, cast on a multiple of four plus two — 22 to 26 stitches is a good width on 10mm needles, giving a scarf roughly 22–26cm across. If the long-tail method defeats you today, a knitted or cable cast on works perfectly well; nobody will inspect your edge.
Understanding Rib Stitch
Rib alternates columns of knit and purl stitches. The purl columns sit slightly back and pull the fabric inwards, which is why ribbing stretches to go over a head and then springs back. That is exactly what you want from a scarf.
We will use knit two, purl two. Every row is identical:
Knit 2, purl 2, then repeat to the last 2 stitches, which you knit. Turn and do it again.
Two habits keep you on track. First, keep the yarn at the back of the work when you knit and bring it to the front for purling — most beginner mistakes come from carrying the yarn on the wrong side. Second, learn to read your stitches: a knit looks like a small V, a purl looks like a horizontal bump or pearl. If the next stitch looks like a V, knit it. If it looks like a bump, purl it. Once you can do that, you can put the pattern down and simply follow the fabric.
Keeping Tension Even
Do not strangle the yarn. Let it flow through your fingers and resist the urge to tug after every stitch. Slight variations even out after a wash, and ribbing is far more forgiving than a flat, smooth fabric. Sit in the same position, rest your elbows, and stop when your hands ache — tired hands make tight, uneven stitches.
Joining a New Ball
When you reach the end of a ball, start the new one at the beginning of a row rather than mid-row. Leave a 15cm tail on both the old and new yarn, knit on, and deal with the tails at the end. Do not knot them: knots work loose and feel lumpy against the neck.
Knitting to Length
Work row after row in the same knit 2, purl 2 pattern until the scarf measures around 150cm, or 120cm if you prefer a shorter style. Hold it up against yourself as you go — a scarf that hangs to mid-thigh when looped once is about right for most adults. Remember that ribbing pulls in, so the finished scarf will be narrower than it looks stretched across the needles. That is normal.
Casting Off and Finishing Neatly
Cast off in pattern so the end matches the beginning and stays stretchy: knit the first two stitches, then lift the first stitch over the second and off the needle. Purl the next stitch according to the rib, then lift the previous stitch over it. Carry on across the row, matching each stitch to the rib, and pull the yarn through the final loop.
Weave in the tails with the tapestry needle, running them along the back of the stitches in the direction of the knitting for about 5cm, then back the other way for a few centimetres. Trim close to the fabric.
If you fancy a fringe, cut lengths of yarn about 30cm long, fold each in half, and use a crochet hook to pull the folded loop through the edge of the scarf. Pass the two loose ends through the loop and pull tight. Space them evenly across both short edges — roughly every second stitch — and trim level.
When Something Goes Wrong
Extra stitches appearing out of nowhere usually means an accidental yarn over at the start or end of a row. Count your stitches every few rows; catching it early saves unpicking.
If the rib pattern drifts out of line, look at the columns. Two purl bumps beside each other where a knit should be tells you exactly where the error is. Chunky yarn is easy to unravel and re-knit, so pull back to the mistake rather than trying to patch it.
A dropped stitch in ribbing runs down quickly. Slide a safety pin through the loose loop to secure it, then use the crochet hook to work the stitch back up the column, alternating knit and purl to match its neighbours.
Finishing, Blocking and Wearing It
Your scarf will look better after a light block. Lay it flat on a towel, spritz it with cool water until damp, and ease it into shape with your hands. Leave it to dry away from radiators and direct sun. Ribbing relaxes slightly, the stitches even out, and the whole thing looks more professional.
Keep the ball band for washing instructions. Wool and wool blends usually want a cool hand wash and drying flat; anything machine-washable will say so clearly. Fold the scarf into a drawer rather than hanging it, and it will keep its shape for years.
Wear it looped once around your neck with the ends hanging in front, or doubled and pulled through for colder days. When someone asks where you bought it, tell them you made it — and then offer to show them how to cast on.
Photo: beyzahzah / Pexels