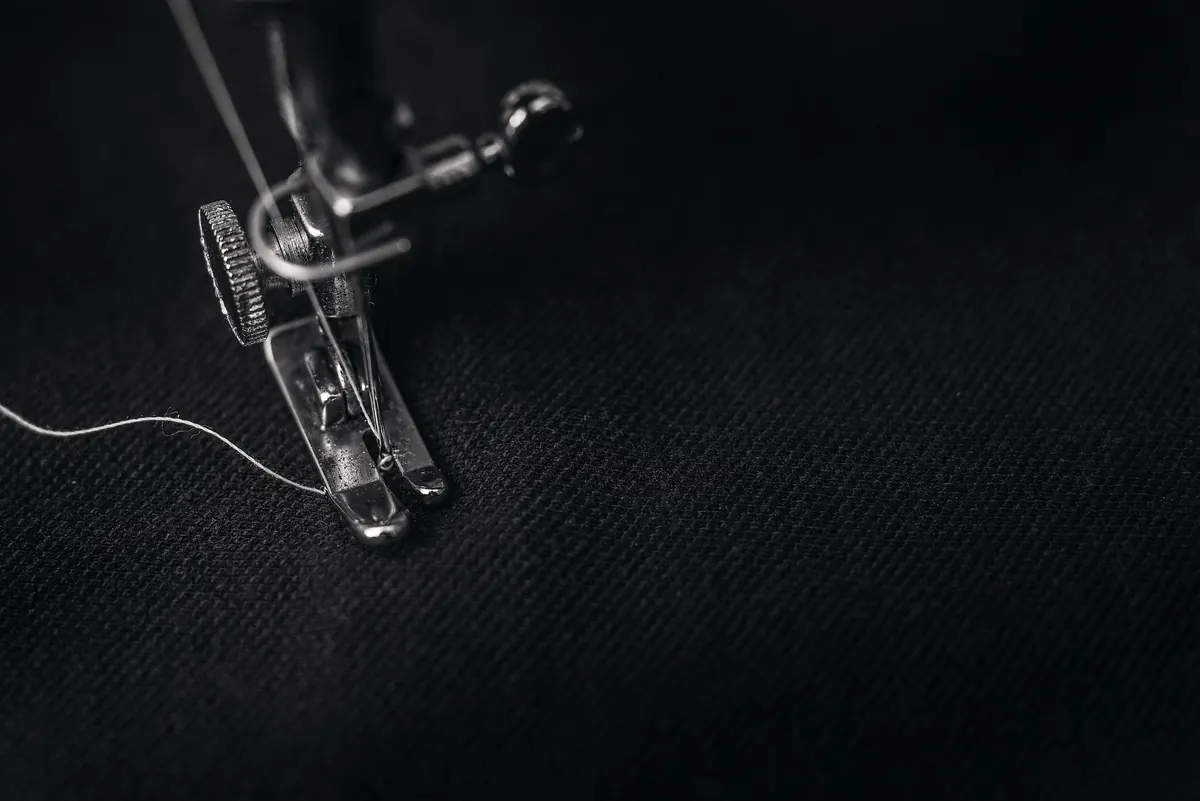
Your sewing machine needle is the cheapest part of your setup and the one most likely to ruin your work. It punches through fabric thousands of times an hour, carries the top thread down into the loop of the bobbin thread, and quietly decides whether a seam sits flat and neat or chews a row of holes along a jersey sleeve. Most of us sew with whatever needle came in the machine and only think about it when something goes wrong. Thirty seconds of choosing the right one prevents most of the trouble.
What is actually on the end of that needle
Every domestic machine needle has the same basic parts, and knowing them makes the numbers on the packet much easier to read.
- Shank — the thick end, flat on one side, that sits in the needle clamp. On most modern machines the flat side faces the back, but check your manual before you assume.
- Shaft or blade — the main body, which tapers towards the point.
- Groove — a channel running down the front of the shaft. It shields the thread as it passes through the fabric, which is why a thread should be a comfortable fit for the groove rather than fighting it.
- Scarf — a small indentation at the back, just above the eye. It lets the bobbin hook slip in and catch the thread to form each stitch.
- Eye — the hole the thread passes through. Larger eyes suit thicker threads.
- Point — the part that varies most. A rounded point pushes knit loops aside; a sharp point pierces; a wedge point slices leather.
Sizes: what 80/12 really means
Needles usually carry two numbers, such as 80/12 or 90/14. The first is the European metric size and is simply the diameter in hundredths of a millimetre — an 80/12 needle is 0.8 mm across. The second is the traditional American numbering, which works the opposite way from most people's expectations: smaller numbers mean finer needles. A 60/8 is delicate, an 110/18 is a heavyweight.
Get the size wrong and the symptoms are obvious. Too fine, and the needle flexes as it pushes through, the thread rubs against the eye and frays, and you get skipped stitches. Too heavy, and you leave visible puncture marks, pucker lightweight fabric and weaken the weave. Match the needle to both the fabric weight and the thread thickness — a chunky topstitching thread needs an eye and groove big enough to pass through without being scuffed.
The main needle types and when to use them
- Universal — a slightly rounded point for medium wovens: quilting cotton, poplin, linen blends, most everyday dressmaking. An 80/12 is the sensible default many sewers keep loaded.
- Sharp or Microtex — a fine, sharp point for tightly woven and coated fabrics, microfibre, silk, taffeta and precision topstitching.
- Ballpoint or Jersey — a rounded point that slips between knit loops instead of cutting them. Use it for T-shirt jersey, sweatshirt fleece and other knits.
- Stretch — a medium ballpoint with a modified scarf, designed for fabrics containing elastane, swimwear and ribbing.
- Jeans or Denim — a strong shaft and sharp point, usually 90/14 or 100/16, for denim, canvas, twill and light upholstery.
- Leather — a wedge point that slices rather than pierces. It leaves permanent holes, so plan your stitching before you start; there is no unpicking a misplaced seam in leather.
- Quilting — a tapered point in 75/11 or 90/14 that copes with layers of fabric and batting without pushing them apart.
- Embroidery — a larger eye and scarf to stop rayon and polyester embroidery threads shredding.
- Topstitch — an extra-large eye and deep groove for thick decorative threads.
- Twin or double — two needles on one shank for neat parallel rows. You will need two spools of thread and a presser foot wide enough to clear both.
Matching needle to fabric: a quick reference
- Chiffon, voile, fine silk — 60/8 or 70/10 Microtex
- Cotton poplin, quilting cotton, light linen — 80/12 Universal
- Jersey, T-shirt knits — 70/10 or 80/12 Ballpoint
- Ribbing, ponte, sweatshirt fleece — 80/12 or 90/14 Ballpoint or Stretch
- Stretch jersey, swimwear — 75/11 Stretch
- Denim, canvas, twill — 90/14 or 100/16 Jeans
- Leather, suede, vinyl — 90/14 or 100/16 Leather
- Quilting with batting — 75/11 or 90/14 Quilting
- Heavy topstitching thread — 90/14 Topstitch
Common problems and how to fix them
Skipped stitches
A blunt needle is the usual culprit, followed by the wrong type. A ballpoint used on a crisp woven cotton can skip because it fails to pierce cleanly, and a sharp needle on jersey can skip because it catches the loops. Check the needle is pushed fully up into the clamp and that it is not bent before you touch the tension dials.
Holes and ladders in knits
You are almost certainly using a sharp or universal needle on a knit. It is cutting the loops rather than easing between them, and those little holes will grow into ladders as the fabric stretches. Switch to a ballpoint or stretch needle in the correct size.
Thread shredding or snapping
If the thread frays near the needle rather than anywhere else, the needle is often too fine for it, or the eye has developed a tiny burr. Fit a larger needle, or replace it. If snapping continues, rethread from scratch, including the bobbin, and check the thread is not catching on the spool edge.
Puckered seams and fabric damage
Puckering along a lightweight seam usually means the needle is too heavy or the tension too tight. Rows of pinprick damage across a woven fabric point to a needle that is too large or past its best. Test on an offcut before you commit to the garment.
When to change your needle, and how to do it
Treat needles as consumables, not fixtures. Change at the start of every new project, and sooner if you have been sewing denim, leather or anything with a lot of sizing in it. A blunt needle makes a faint popping sound as it pushes through, leaves visible punctures, and starts missing stitches. As a rough guide, replace it after every six to eight hours of sewing; heavy fabrics shorten that considerably.
To swap it, raise the needle bar, loosen the clamp screw, and let the old needle drop into a small jar or pin tin — not the bin, and never the carpet. Push the new needle up as far as it will go, flat side per your manual, then tighten the screw firmly. Roll the needle on a flat surface to check it is straight before you fit it. Finally, write the date on the packet and keep the sleeves: it is far easier to grab a labelled 80/12 than to guess at an unmarked needle months later.
Photo: Alex Andrews / Pexels