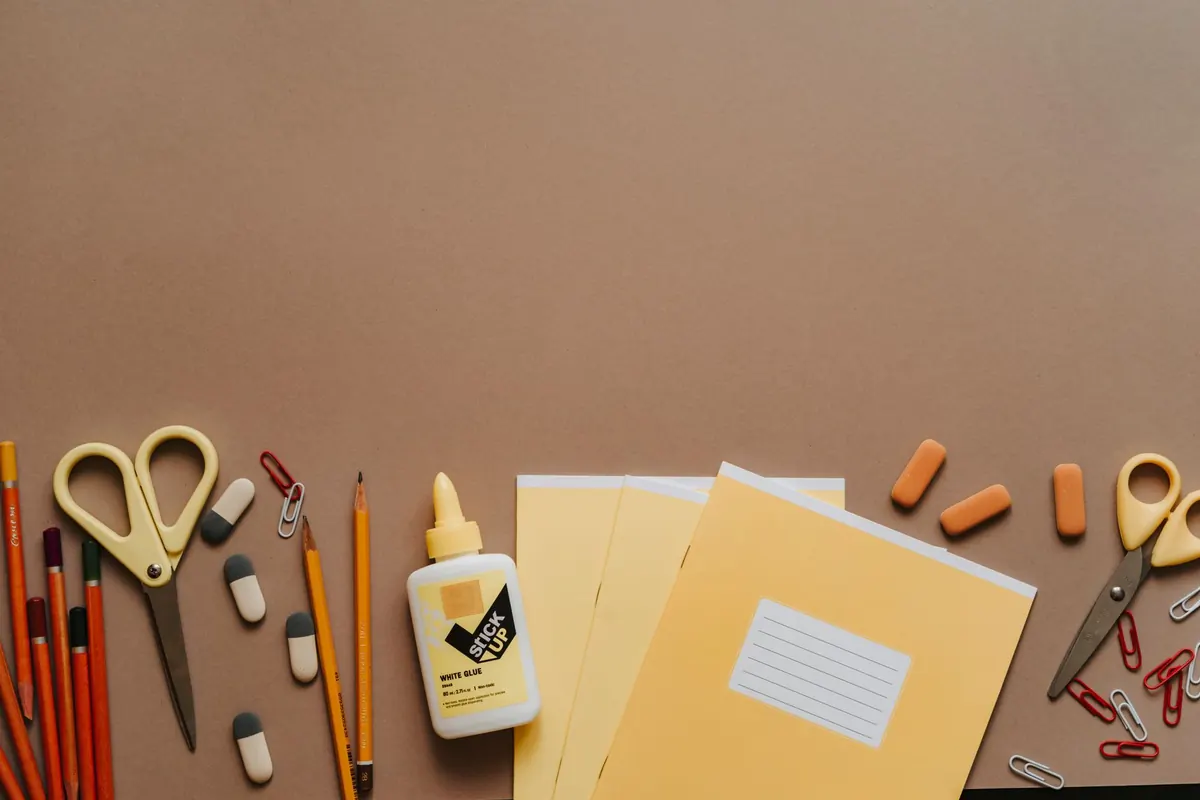
Papercraft rewards patience and precision, but even experienced makers end up with a smeared edge or a card that curls like a crisp. The culprits are usually the same: too much adhesive, the wrong glue for the paper, or a rush to move on before everything has dried. The good news is that these problems are predictable, and most can be fixed with a few small changes to your technique and your workspace.
Why Glue Smudges Happen (and How to Stop Them)
Smudges rarely appear because you are clumsy. They appear because adhesive has been spread too thickly, pressed too hard, or dragged across a surface it should not touch. A glue stick applied with a heavy hand leaves ridges that squash out when you press the paper down. A wet PVA glue can bleed through thin paper and leave a shiny mark that no amount of rubbing will remove.
Start by using less glue than feels natural. For most paper-to-paper joins, a thin, even film is stronger than a thick blob. If you are using a glue stick, twist it up only a few millimetres and sweep it across the back of the paper in one direction. For liquid glue, decant a small amount onto a scrap of card and apply it with a silicone brush or a cocktail stick. That gives you control and keeps the nozzle away from your project.
Work on a clean sheet of scrap paper, and keep a damp cloth or a baby wipe nearby for your fingers. Oily or sticky hands transfer marks to the front of cards, especially on matte or textured paper. If a smudge does appear, resist the urge to wipe it straight away. Let the glue dry completely, then gently rub it with a clean eraser or a piece of kitchen roll. For stubborn PVA marks, a soft pencil eraser often lifts the residue without damaging the paper.
Choosing the Right Adhesive for the Job
Not all glues are interchangeable. The wrong choice can cause warping, bleed-through, or a join that fails after a day. Here is a simple guide:
- Glue stick: Best for lightweight paper, quick cards, and areas where you need a dry finish. It can yellow over time, so avoid it for archival projects.
- PVA or white craft glue: Strong and flexible, ideal for bookbinding, boxes, and thicker card. Use sparingly or it will warp.
- Double-sided tape: Clean, instant, and mess-free. Perfect for attaching panels, ribbons, and delicate die-cuts where wet glue would buckle.
- Foam tape or pads: Adds dimension. Use for layering without pressing the paper flat.
- Spray adhesive: Good for large, flat areas such as backgrounds. Spray outside or in a ventilated space, and mask the edges with scrap paper.
- Repositionable adhesive: Useful for temporary holds, stencils, and trying out layouts before committing.
Test any new adhesive on a scrap of the same paper first. Some papers, especially vellum and thin tissue, react badly to water-based glues and will cockle as soon as they touch moisture.
Preventing and Fixing Warping
Warping is the paper's response to moisture. When one side of a sheet absorbs water from glue, it expands. The dry side does not, so the paper curls towards the dry side. The thinner the paper and the wetter the glue, the worse the curl.
To prevent warping, apply adhesive in a thin, even layer and avoid flooding the centre of large sheets. If you are gluing two pieces together, use a rolling motion with a brayer or a bone folder to press them flat from the centre outwards. This pushes out air and excess glue without stretching the paper.
Weighting is your friend. After gluing, place the piece between two sheets of greaseproof paper and put a heavy book or a cutting mat on top. Leave it for at least an hour, or overnight for larger projects. For cards, a stack of books works well. For book covers, use a press or several heavy boards.
If a piece has already warped, do not panic. Lightly mist the back of the warped paper with water, place it between blotting paper or kitchen roll, and press it under a heavy weight. For small pieces, a warm iron on a low setting (no steam) over a sheet of greaseproof paper can help relax the fibres. Test on a scrap first, and never iron directly onto glue or decorative surfaces.
Tools and Habits That Make a Difference
Good tools do not replace good technique, but they make it easier to be consistent. A bone folder creases without shiny marks. A brayer applies even pressure. A silicone mat gives you a non-stick surface that wipes clean. Tweezers help place small pieces without smearing glue. And a roll of low-tack tape can hold things in place while you work.
Build these habits into every project:
- Clear your workspace and wipe it down. Grit and dried glue are the enemies of a clean finish.
- Keep a scrap sheet of the same paper nearby for testing glue and pressure.
- Apply adhesive to the smaller piece, not the larger one, whenever possible.
- Press and hold for a few seconds before moving on. Do not slide the paper into position.
- Let wet glue dry fully before trimming, punching, or folding. Wet paper tears easily.
- Clean your tools at the end of a session. Dried PVA can ruin brush tips and clog nozzles.
Troubleshooting Specific Problems
Glue showing through the front
This usually means too much water-based glue on thin paper. Try a glue stick or double-sided tape instead. If you must use PVA, apply it to the thicker of the two pieces and use the tiniest amount. You can also seal porous paper with a thin coat of matte medium before gluing, but test first.
Card front buckling after adding a panel
The panel and the card base are expanding at different rates. Use double-sided tape for the panel, or glue only the edges and leave the centre free. That allows the paper to move slightly without rippling. If the buckle is small, press the card under a heavy book overnight.
Sticky residue on your work surface
Glue sticks and spray adhesives leave a tacky film that attracts dust. Clean your mat with warm soapy water or a dab of surgical spirit on a cloth. For spray adhesive, a citrus-based cleaner works well
Photo: olia danilevich / Pexels