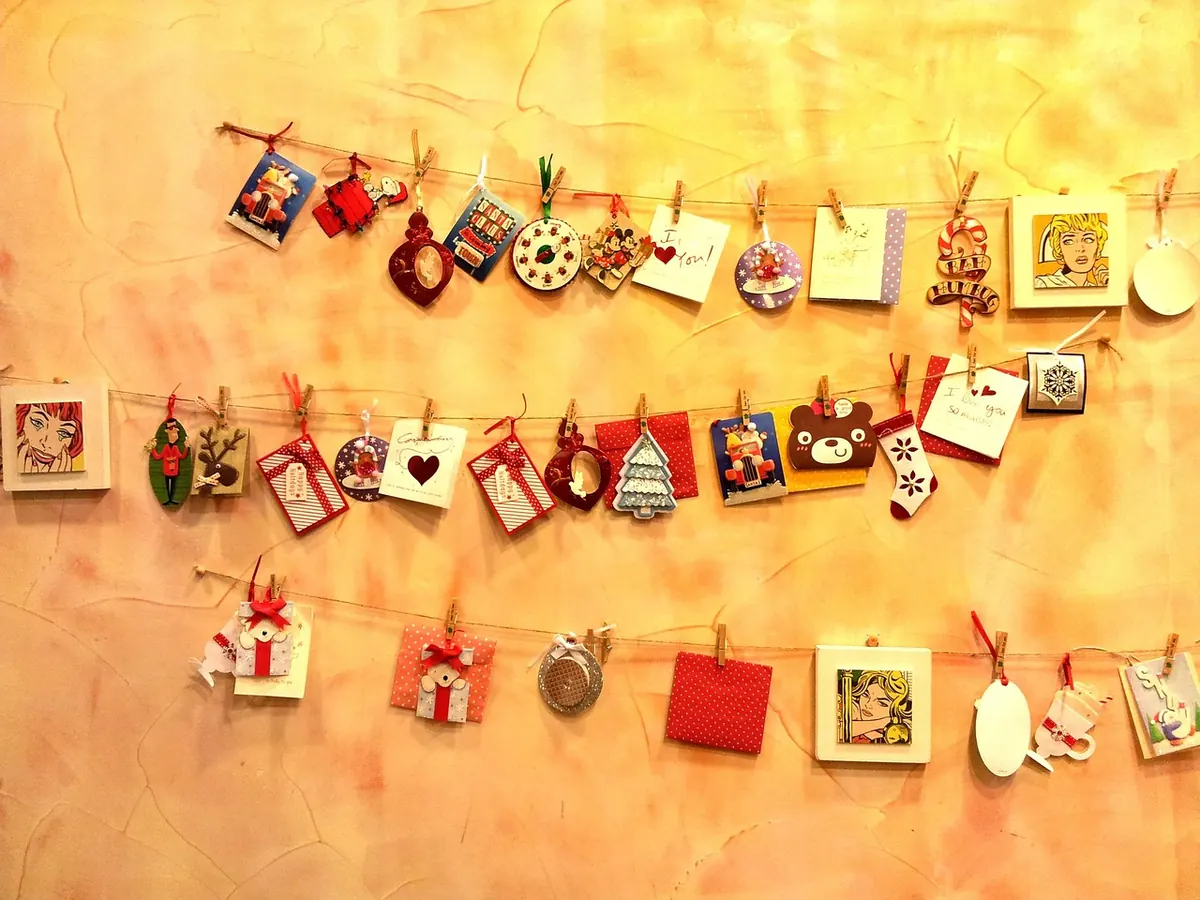
A handmade Christmas card carries more weight than a shop-bought one, and it doesn't need expensive supplies. If you keep a box of paper scraps—offcuts from wrapping paper, old sheet music, leftover cardstock, even pretty magazine pages—you already have the makings of something personal. The trick is to treat those scraps as a palette rather than clutter. Here's how to turn them into cards worth keeping.
Gather Your Scraps and Kit
Sort your scraps by colour, pattern and weight. Keep neutrals (cream, kraft, white) for backgrounds, festive reds and greens, and metallics or foils for accents. Anything smaller than a postage stamp can still work as a tiny star or berry.
You don't need much equipment. Sharp scissors, a craft knife and cutting mat for straight lines, a glue stick, PVA, double-sided tape, foam pads, a ruler and a pencil will cover most projects. Card blanks are easy to make: fold A4 card (around 250–300gsm) in half for a portrait card, or in quarters for a small note.
- Card blanks or A4 cardstock (250–300gsm)
- Paper scraps: wrapping paper, sheet music, maps, magazines, old books, patterned paper
- Adhesives: glue stick, PVA, double-sided tape, foam pads
- Tools: scissors, craft knife, cutting mat, metal ruler, bone folder, pencil
- Embellishments: ribbon, buttons, sequins, washi tape, metallic pens
Five Design Ideas to Try
These projects work with scraps of any size. Mix and match, or use one as a starting point.
- Scrap strip tree. Cut thin strips of green paper in varying lengths. Arrange them into a triangle on the card front, starting with the longest at the bottom. Glue each strip down, then trim any overhang. Add a small star or a sequin at the top.
- Patchwork bauble. Draw or punch a circle from card. Fill it with overlapping triangles or hexagons cut from patterned scraps. Work from the outside in, gluing each piece so the edges overlap. Add a loop of ribbon at the top.
- Collage wreath. Tear small pieces of green paper—magazine pages, maps, or old wrapping paper. Arrange them in a ring, leaving the centre empty. Glue down, then add tiny red dots for berries using a hole punch or a pen.
- Origami stars. Fold small squares of leftover wrapping paper into simple five-pointed stars. Glue one large star or a cluster of small ones onto a plain card. A metallic pen around the edges adds definition.
- Scrap typography. Cut letters from different scraps to spell a short greeting like “Joy” or “Noel”. Mix fonts, sizes and colours. Arrange them on the card before gluing, then add a thin border or a strip of washi tape.
Layering and Adhering Without the Mess
Glue is where handmade cards can go wrong. Thin papers buckle with wet glue, so use a glue stick for those. Apply the glue to the back of the scrap, not the card, and smooth it down from the centre outwards. For heavier scraps, use double-sided tape or a thin layer of PVA. Foam pads add dimension without much weight.
Work on a sheet of scrap paper or a cutting mat to protect your table. If a piece curls, place the card under a heavy book for an hour. A bone folder helps press edges flat. When layering, build from the bottom up: background first, then middle layers, then accents. Let each layer dry for a minute before adding the next.
Personal Touches That Take Minutes
The best handmade cards have a detail that means something. It might be a scrap of sheet music from a carol you sang as a child, a map of a place you visited together, or a photo trimmed to fit a small frame. Write the greeting by hand—even if your handwriting is untidy, it reads as personal. A gold or silver pen can edge a card or add a simple star.
Inside, write a short note that references the card. “I saved this piece of wrapping paper from last year’s presents” or “The green paper is from the map of our walk.” If you’re short on time, a stamped message and a signature is enough. Add a small pocket for a gift card, a tea bag, or a handwritten recipe.
Batch Making Without Losing the Joy
If you need a dozen cards, an assembly line saves time and mess. Cut all your card bases first. Then prepare backgrounds—glue down large scraps or paint edges. Next, add the main motif, then the accents. Keep a tray or a clean surface for drying cards so you can move them without smudging.
Work in batches of six to eight. It’s enough to feel productive without becoming tedious. Put on a Christmas album or a podcast. Don’t aim for identical cards; slight variations make each one feel unique. If you’re making cards with children, set up a simple station with glue sticks, safety scissors, and a box of scraps.
Finishing and Troubleshooting
A few small fixes make a big difference. If glue seeps out, wipe it immediately with a damp cloth or a cotton bud. If layers look crooked, use a ruler to check alignment before the glue sets. For a clean edge, trim the card front with a craft knife and ruler after gluing, or add a thin border of contrasting paper.
Cards that warp can be flattened under a heavy book overnight. If you’re writing a long message, do it before you glue the front, or use a piece of paper inside to protect the card. If your card is an odd size, make an envelope from a larger sheet or use a C5 envelope and seal it with washi tape. Store finished cards flat in a box until you’re ready to send them.
Send Them With Intent
Handmade cards are a small gift in themselves. Send them to people who will notice the effort—a neighbour, a teacher, a friend you haven’t seen for months. Write the address clearly and add a real stamp. If you have leftovers, keep a few in a drawer for unexpected occasions. The point isn’t perfection; it’s the time you took to make something from what you already had. That’s what makes a card worth keeping.
Photo: papyrus / Pixabay